Onshape:
|
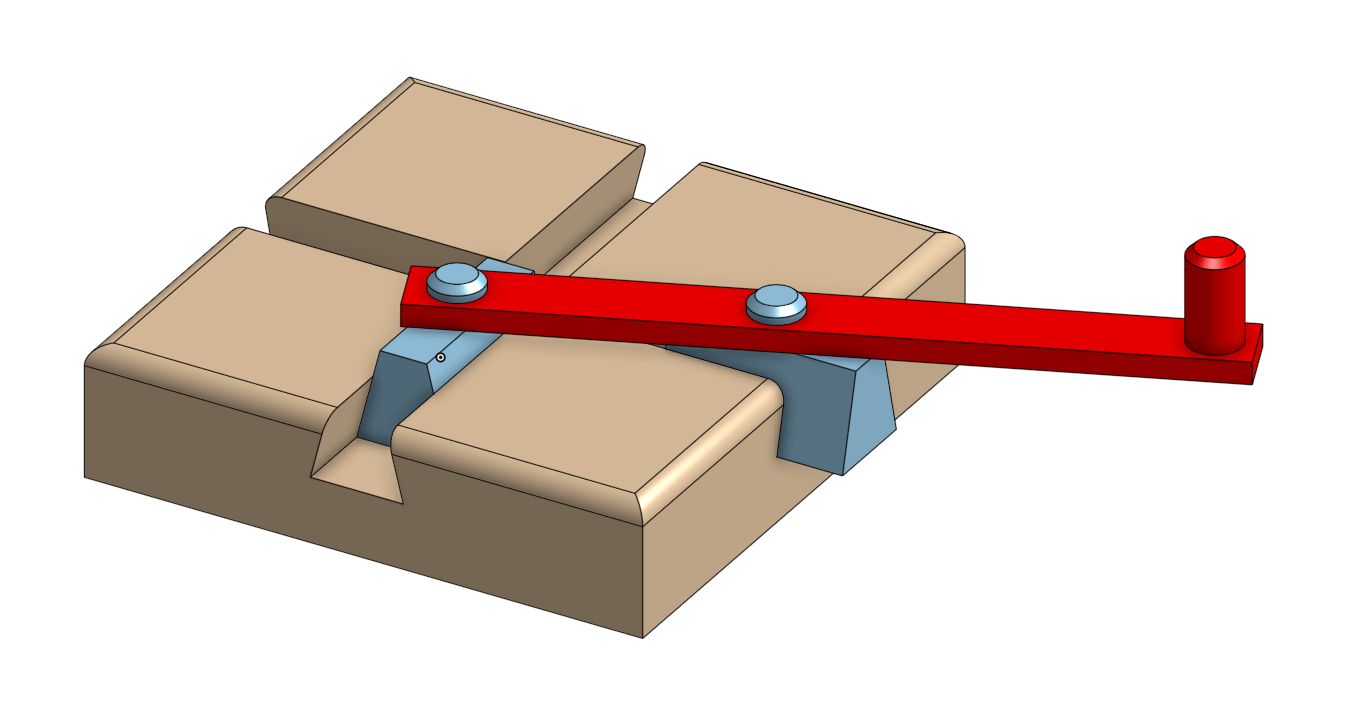
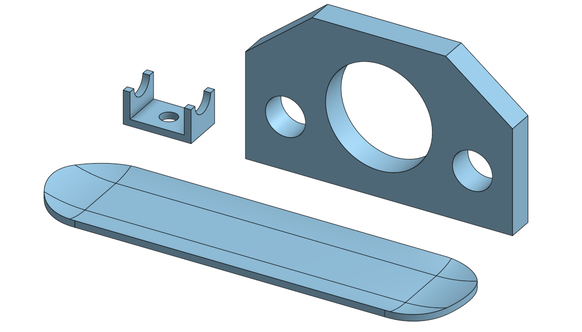
We completed our last step of the 3D design tutorials by working on the step 4 3D tutorials. This tutorial was split into two sections. First, we finished our do nothing machines by assembling all the individually designed parts in one assembly. We then learned how to animate the design to demonstrate the functions of the do nothing machine. The second part included designing some simple useful parts like skateboard decks. The different components that were designed and assembled are shown in the pictures below.
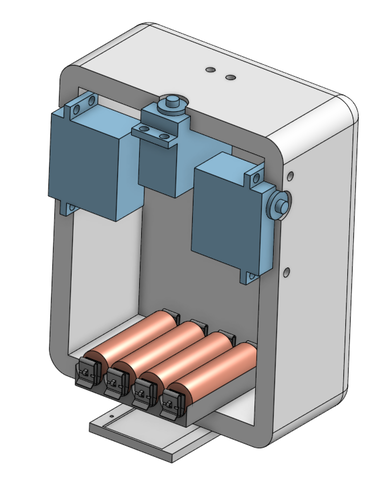
During this design step we also began to develop some 3D models of our actual prototype using Onshape. The portions of the model that we have designed so far are shown in the picture to the right. So far, have made significant progress on finishing the main body of the RoboBuddy. After the body has been finalized, we will move onto designing the head of the product. After that, we will finish the design by modeling the product's arms. |
|
|
|
Tutorials:
|
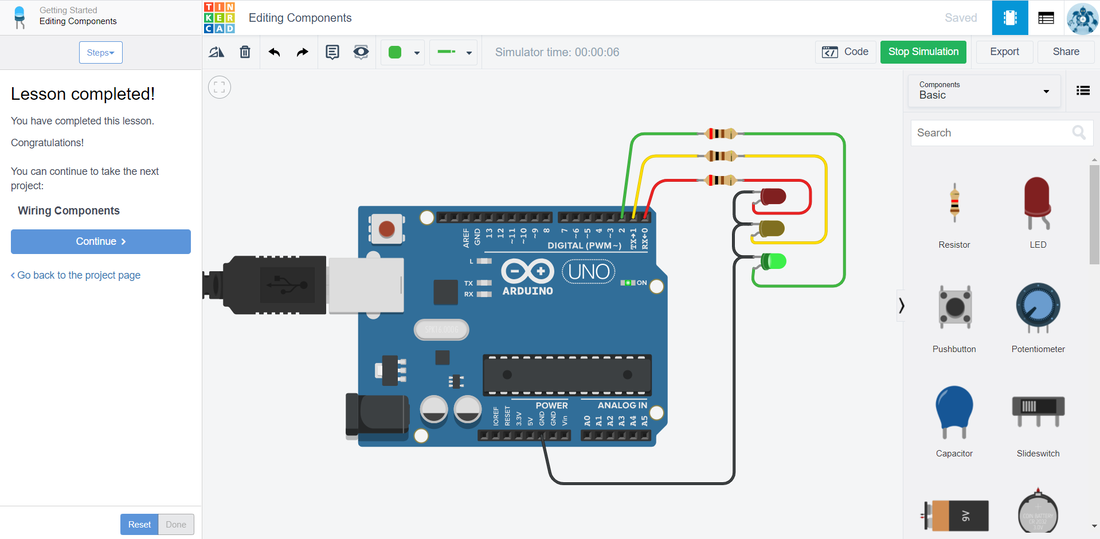
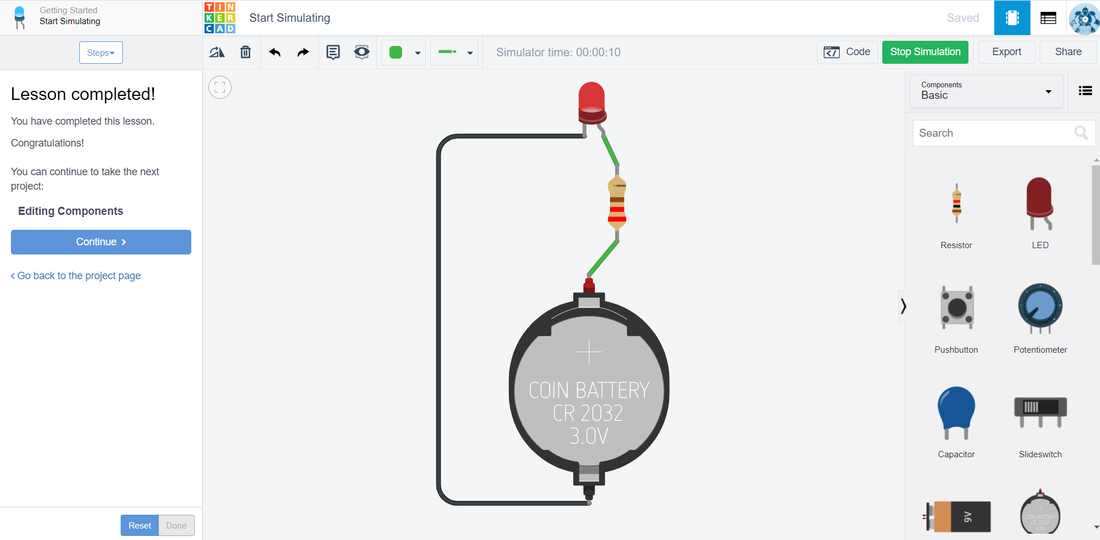
In addition to the Onshape tutorials, we also completed tutorials using Tinkercad and Simscale. Using Tinkercad, we learned how to start simulating circuits and how to edit the components within the circuits. In the future, we will use these features in Tinkercad to make a circuit diagram for our product. Images of the two Tinkercad tutorials are shown below.
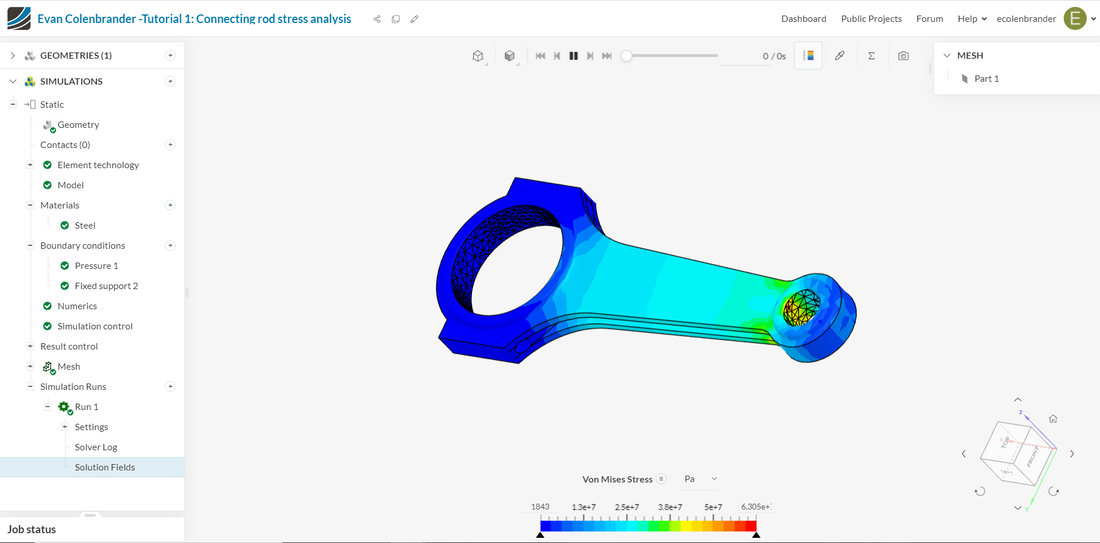
We used Simscale to learn how to digitally contuct experiments and tests. The first tutorial we did taught us how to run a linear static stress analysis. In the future, we plan on using the Simscale simulator to stress test ABS plastic. The image of the stress test is shown on the right. |
|
|
|
Testing:
|
The largest part of the fourth design step was to conduct tests for our product. We conducted two tests that evaluated the audio capabilities of our product. We started by constructing a plan and set up document for our experiments. This document outlined key information like the experiment purpose and experiment procedure.
Our first test analyzed how well the speech to text capabilities could deal with different accents. The second test analyzed how the accuracy of the speech to text capabilities changed as the distance from source of the audio to the microphone increased. The final step was to summarize and analyze the data we had collected. To do this we created a lab report document that includes all the information that went into these tests including the procedure, data, conclusions, pictures, and much more. The lab report document is shown on the right. |
|
Reflection:
My reflection for this design step is very similar to the design step 3 reflection because we are continuing with the same work. Similar to the last step, the 3D design tutorials went well. It was nice to finish the do nothing machine while also learning a new CAD software which allowed me to improve my 3D modeling abilities. I also enjoyed printing the parts for the do nothing machine so I could see the animations work in real life. Same as the last step, the main part of my work that went poorly and could be improved was time management. To improve my time management in the future I can work on developing better work habits. As a group we plan on improving by working to involve our team mentors more. At this point, we still haven't had many issues that required consulting our team mentors but going forward it will make more sense to start getting them involved more. The main thing I learned throughout this design step was working with online simulation software like Simscale. This was a new and unique type of program that I had never used before. I also learned about making my own 3D models. Previously, I had been following 3D tutorials so this was the first time I used Onshape to design my own original model.
